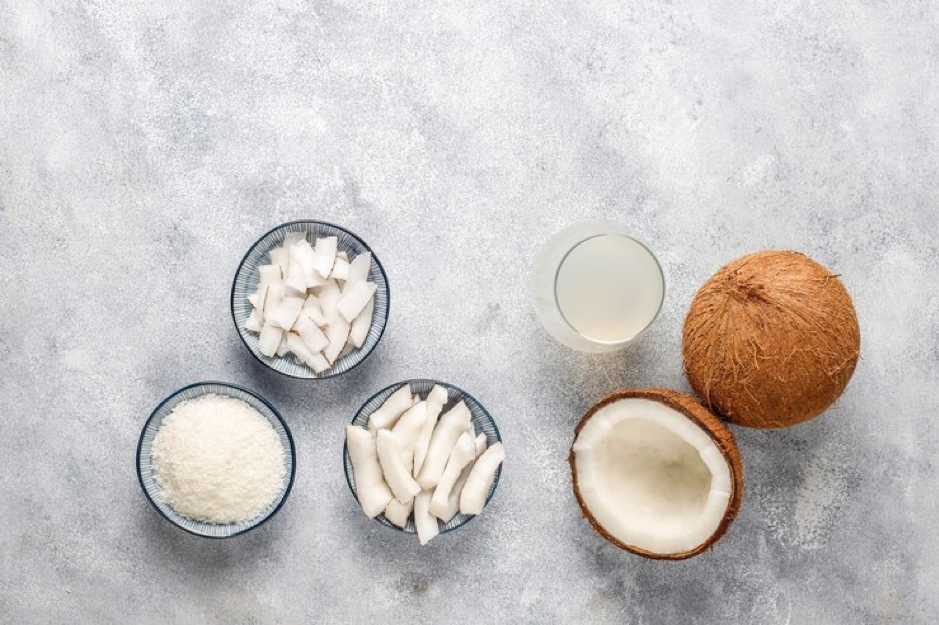
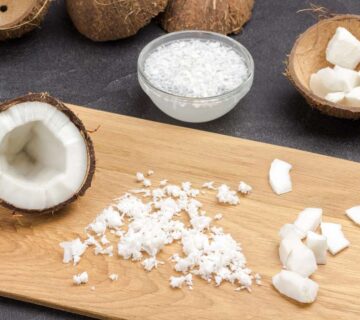
Coconut, often referred to as the “tree of life“, provides us with a myriad of products, one of which is the beloved desiccated coconut. Desiccated coconut, with its versatile uses in both sweet and savory dishes, is a kitchen staple for many.
While store-bought options are readily available, making desiccated coconut from fresh coconut at home allows you to savor the pure essence of this tropical fruit.
In this comprehensive guide, we’ll take you through the step-by-step process of transforming fresh coconut into your very own desiccated coconut.
How to Make Desiccated Coconut from Fresh Coconut?
In the previous article, we shared information about how to make desiccated coconut from coconut flakes. This time, we will provide a guide on making desiccated coconut from fresh coconut. The process is not as complicated as one might think, but it is indeed a bit longer compared to using coconut flakes. Here are the ingredients you will need and the step-by-step guide:
Tools
- Hammer or mallet
- Screwdriver or butter knife
- Grater or coconut scraper
- Baking sheet
- Oven
- Blender or food processor
Ingredients
- 2 mature coconuts, peeled
- 2 tablespoons simple syrup (optional)
Instruction
1. Crack Open the Fresh Coconut
The first and perhaps most challenging step is cracking open the fresh coconut. Begin by locating the three “eyes” or indentations on one end of the coconut. Using a screwdriver or the blunt end of a butter knife, pierce two of the eyes.
Drain the coconut water into a container, you can use this later in your recipes or as a refreshing drink.
Now, firmly tap around the equator of the coconut with a hammer or mallet. Continue tapping until the coconut splits open. If you find it challenging to crack, you can place the coconut in a plastic bag before tapping to contain any flying pieces.
2. Extract the Coconut Meat
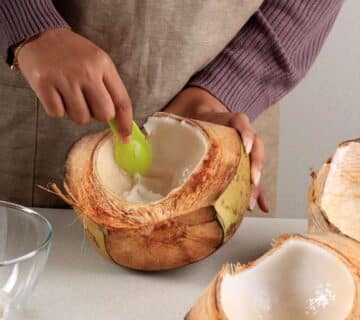
Once the coconut is cracked open, use a butter knife or a dedicated coconut tool to carefully separate the white coconut meat from the shell. Be gentle to avoid any brown skin coming off with the meat. If needed, you can use a small paring knife to help detach the meat from the shell.
3. Clean and Rinse the Coconut Meat
After successfully extracting the coconut meat, rinse it under cold water to remove any remaining shell particles. Cleaning the coconut meat ensures the purity of your desiccated coconut and eliminates any unwanted debris.
4. Grate the Coconut Meat
Using a grater or a dedicated coconut scraper, grate the cleaned coconut meat into fine shreds. The finer the shreds, the more easily the coconut will dry and the smoother the desiccated coconut texture will be. If you prefer larger coconut flakes, adjust the grating size accordingly.
5. Preheat Your Oven
Preheat your oven to a low temperature, typically around 200°F (93°C). The low heat setting is crucial to prevent the coconut from browning and to ensure a slow, thorough drying process.
6. Spread Coconut Shreds on a Baking Sheet
Take a baking sheet and spread a thin, even layer of the freshly grated coconut on it. Ensure the coconut is evenly distributed for uniform drying.
7. Bake at Low Temperature
Place the baking sheet in the preheated oven and allow the coconut shreds to bake at a low temperature for approximately 2-3 hours. Periodically check and stir the coconut to ensure even drying. The slow baking process removes moisture from the coconut, transforming it into desiccated coconut without compromising its natural flavors.
8. Check for Dryness
After 2-3 hours, check the coconut shreds for dryness. They should be crisp and have a light, golden color without browning. If needed, continue baking in shorter intervals until the desired dryness is achieved.
9. Cool the Desiccated Coconut
Once the coconut shreds have dried to perfection, remove the baking sheet from the oven and allow the desiccated coconut to cool completely. Cooling is essential to finish the drying process and to prevent moisture absorption.
10. Blend for Desired Consistency
Transfer the cooled desiccated coconut to a blender or food processor. Pulse or blend the coconut shreds until you achieve the desired consistency. Blend for a shorter time for a coarser texture and longer for a finer one.
11. Store in an Airtight Container
Finally, transfer your homemade desiccated coconut to an airtight container. Store it in a cool, dry place away from direct sunlight. Proper storage ensures the longevity of your freshly made desiccated coconut, allowing you to enjoy its tropical goodness in various culinary creations.
Isn’t It Easy to Make Desiccated Coconut at Home?
Making desiccated coconut from fresh coconut is a rewarding process that not only enhances the flavor and texture of your dishes but also allows you to appreciate the true essence of this tropical fruit.
Nowadays, many suppliers have sold desiccated coconut, but not every supplier provides a high-quality product. If you are interested, you can purchase it from Sari Coconut.
Sari Coconut is a desiccated coconut supplier that provides high-quality products with a sweet aroma of coconut that is perfect for your kitchen needs. To order it, simply contact Sari Coconut right away!
FAQ
- What is desiccated coconut?
Desiccated coconut is dried and finely shredded coconut meat, commonly used in cooking and baking.
- Can I make desiccated coconut from fresh coconut at home?
Yes, you can make desiccated coconut from fresh coconut at home with a few simple steps.
- How long does it take to make desiccated coconut from fresh coconut?
The process can take a few hours, including baking time. The duration depends on the thickness of the coconut and the temperature of the oven.
- Can I store homemade desiccated coconut?
Yes, store it in an airtight container in a cool, dry place. Homemade desiccated coconut can last for several weeks.

