Cupcakes are a beloved treat worldwide, but there’s something particularly delightful about the rich, tropical flavor of desiccated coconut cupcakes. This guide will take you through the process of making these delicious cupcakes step-by-step.
We’ll explore what makes this recipe unique, the ingredients you’ll need, the equipment required, and detailed instructions for creating your own batch of coconut-infused cupcakes. Plus, we’ll cover some frequently asked questions to help ensure your baking success.
What Makes Desiccated Coconut Cupcakes Unique?
Desiccated coconut cupcakes stand out due to their distinct texture and flavor. Unlike traditional cupcakes, which often rely on vanilla or chocolate for flavor, these cupcakes incorporate desiccated coconut to bring a naturally sweet, nutty taste and a pleasingly moist texture.
The desiccated coconut adds a bit of chewiness and crunch, making each bite a delightful experience. These cupcakes are perfect for coconut lovers and those looking to try something a bit different from the standard cupcake fare.
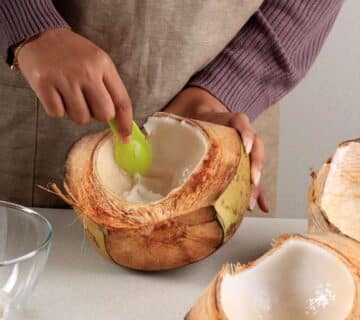
Desiccated coconut cupcakes not only delight the taste buds but also offer numerous health benefits. Desiccated coconut is rich in dietary fiber, which aids in digestion and helps maintain a healthy gut. It also contains essential minerals such as manganese, copper, and selenium, which contribute to bone health, immune function, and the prevention of oxidative stress.
Best Recipe for Desiccated Coconut Cupcakes
Here’s a refined and detailed recipe for desiccated coconut cupcakes that emphasizes simplicity and flavor. This recipe will guide you through creating moist, coconut-infused cupcakes with a rich, creamy frosting.
A. Ingredients
Before diving into the baking process, let’s gather all the necessary ingredients:
For the Cupcakes
- 1 1/2 cups all-purpose flour
- 1 teaspoon baking powder
- 1/2 teaspoon baking soda
- 1/4 teaspoon salt
- 1/2 cup unsalted butter, softened
- 1 cup granulated sugar
- 2 large eggs
- 1 teaspoon vanilla extract
- 1/2 teaspoon coconut extract (optional, for extra coconut flavor)
- 1/2 cup buttermilk
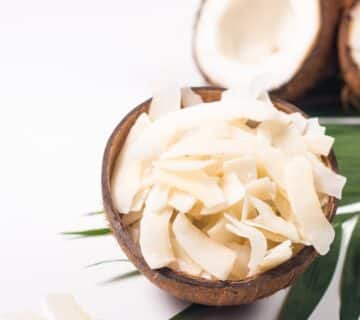
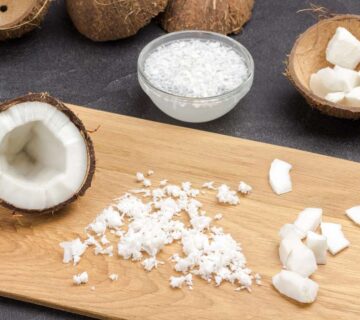
- 1 cup desiccated coconut
For the Frosting
- 1/2 cup unsalted butter, softened
- 3 cups powdered sugar
- 1/4 cup coconut milk (or regular milk)
- 1 teaspoon vanilla extract
- 1/2 teaspoon coconut extract (optional)
- 1/2 cup desiccated coconut (for garnish)
B. Equipment
- Mixing bowls
- Measuring cups and spoons
- Electric mixer or hand whisk
- Spatula
- Muffin tin
- Cupcake liners
- Cooling rack
- Piping bag and tips (optional for frosting)
C. Step-by-Step Guide
1. Preheat Your Oven
Preheat your oven to 350°F (175°C) and line your muffin tin with cupcake liners. This ensures your cupcakes bake evenly and come out cleanly.
2. Prepare the Dry Ingredients
In a medium bowl, whisk together the all-purpose flour, baking powder, baking soda, and salt. This mixture will help your cupcakes rise and achieve the perfect texture.
3. Cream the Butter and Sugar
In a large mixing bowl, use an electric mixer to cream together the softened butter and granulated sugar until the mixture is light and fluffy. This should take about 3-4 minutes. The creaming process incorporates air, which helps create a light and tender cupcake.
4. Add the Eggs and Extracts
Add the eggs one at a time, beating well after each addition. Then mix in the vanilla extract and coconut extract (if using). These extracts enhance the flavor of your cupcakes, making them irresistibly fragrant.
5. Incorporate the Dry Ingredients and Buttermilk
Gradually add the dry ingredients to the butter mixture in three parts, alternating with the buttermilk. Begin and end with the dry ingredients. Mix until just combined, being careful not to overmix, as this can result in dense cupcakes.
6. Fold in the Desiccated Coconut
Gently fold in the desiccated coconut using a spatula. This ensures the coconut is evenly distributed throughout the batter, adding texture and flavor to every bite.
7. Fill the Cupcake Liners
Spoon the batter into the prepared cupcake liners, filling each about two-thirds full. This allows room for the cupcakes to rise without overflowing.
8. Bake the Cupcakes
Bake in the preheated oven for 18-20 minutes, or until a toothpick inserted into the center of a cupcake comes out clean. The tops should be lightly golden. Avoid overbaking, as this can dry out the cupcakes.
9. Cool the Cupcakes
Remove the cupcakes from the oven and allow them to cool in the tin for 5 minutes. Then transfer them to a cooling rack to cool completely. This step is crucial, as frosting warm cupcakes will cause the frosting to melt.
10. Prepare the Frosting
While the cupcakes cool, prepare the frosting. In a large mixing bowl, beat the softened butter until creamy. Gradually add the powdered sugar, one cup at a time, beating well after each addition. Add the coconut milk, vanilla extract, and coconut extract (if using), and beat until the frosting is smooth and fluffy.
11. Frost the Cupcakes
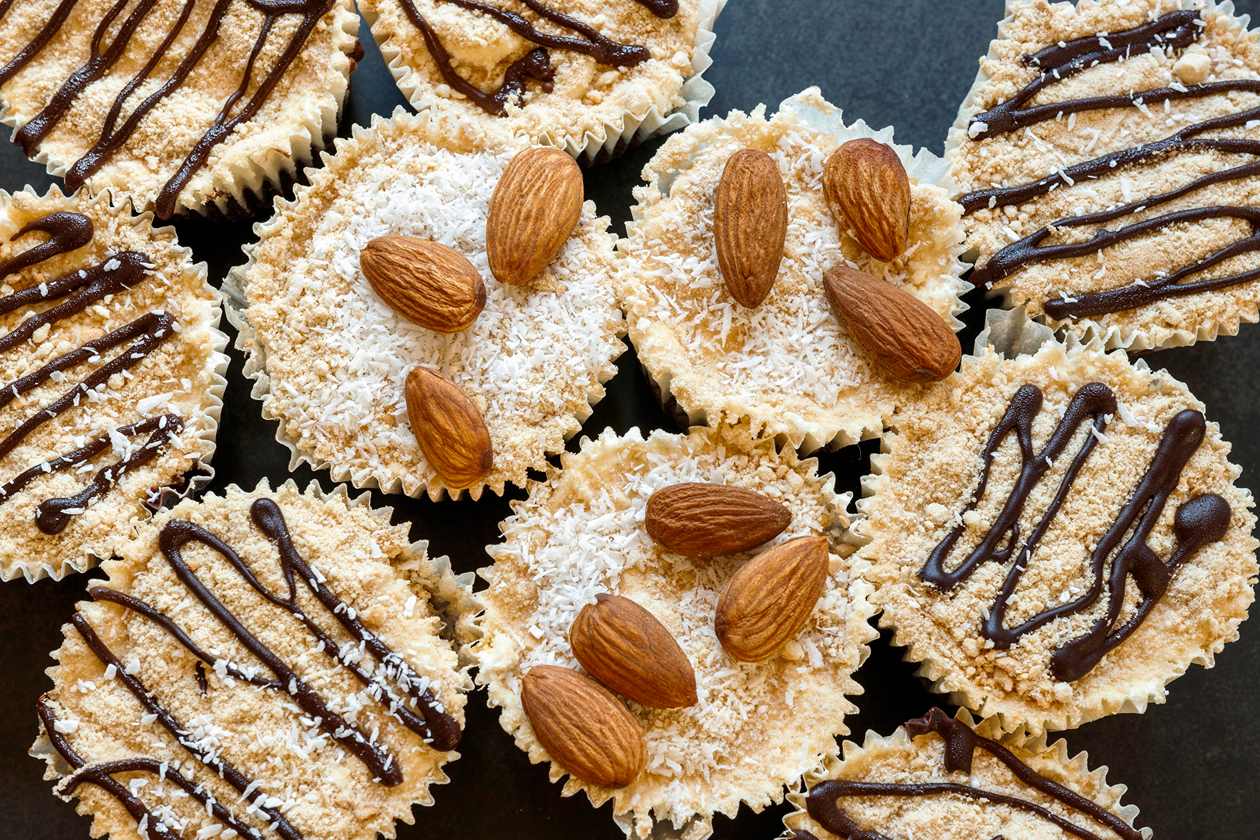
Once the cupcakes are completely cool, frost them using a piping bag and tip or a spatula. Sprinkle the tops with desiccated coconut for a beautiful and textured finish.
Let’s Make Desiccated Coconut Cupcakes Today!
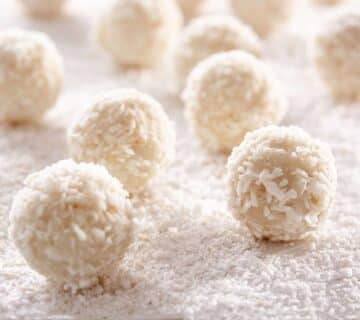
Desiccated coconut cupcakes are a delightful treat that bring a tropical twist to the classic cupcake. Their unique texture and flavor, coupled with a light and fluffy frosting, make them perfect for any occasion. By following this step-by-step guide, you’ll be able to create a batch of these delicious cupcakes that are sure to impress.
If you’re looking to purchase desiccated coconut, especially in bulk, opt for Sari Coconut. Sari Coconut is the best certified supplier of coconut derivatives products from Indonesia, known for their high-quality standards.
Whether you’re a home baker or own a food and beverage business, partnering with Sari Coconut ensures you get the finest coconut products available. Contact Sari Coconut to learn more about their extensive range of coconut derivatives and how they can meet your needs. Happy baking!
FAQ
Can I use sweetened shredded coconut instead of desiccated coconut?
Yes, you can substitute sweetened shredded coconut if desiccated coconut is unavailable but the texture will be slightly different. Keep in mind that sweetened shredded coconut will add extra sweetness to your cupcakes, so you might want to reduce the amount of sugar in the batter slightly.
Can I make these cupcakes ahead of time?
Absolutely! You can bake the cupcakes a day in advance and store them in an airtight container at room temperature. Frost them on the day you plan to serve them to ensure the frosting remains fresh.
What can I use instead of buttermilk?
If you don’t have buttermilk on hand, you can make a substitute by adding 1 tablespoon of lemon juice or white vinegar to a measuring cup, then filling it with milk to the 1/2 cup mark. Let it sit for a few minutes before using it in the recipe.
Can I add other flavors to the cupcakes?
Yes! For a tropical twist, you can add a bit of lime or lemon zest to the batter. Alternatively, try mixing in some crushed pineapple for added flavor and moisture.
What is the best way to store these cupcakes?
Store unfrosted cupcakes in an airtight container at room temperature for up to 3 days. Frosted cupcakes should be stored in the refrigerator in an airtight container and brought to room temperature before serving.
Can I use this recipe to make a cake instead of cupcakes?
Yes, you can convert this recipe into a cake. Pour the batter into a greased and floured 9-inch round cake pan and bake at 350°F (175°C) for 25-30 minutes, or until a toothpick inserted into the center comes out clean. Adjust the baking time as needed for different pan sizes.